
Finished elegance caulk: trim joints and new floors
If you searched for finished elegance caulk, you are most likely fitting paint-ready trim and want to know what to fill its joints with. The short answer is a paintable acrylic caulk for the joints between trim and wall, and filler for nail holes. The part people get wrong is the bottom edge: caulk should never bond the trim to a wood floor.
We do not sell caulk or trim, so this is not a product pitch. It is what we tell people who are fitting baseboard and shoe moulding around a new floor, because the trim joint is where a good floor installation often gets spoiled at the very end.
What caulk is for on painted trim
Caulk is a flexible gap filler. On painted trim it closes the small joints that paint alone cannot bridge, so the finished run reads as one clean line.
There are three places it belongs. The first is the top edge of the baseboard, where it meets the wall and the wall is never perfectly flat. The second is inside corners and the joints where two lengths of trim meet. The third is the gap between door casing and the wall.
Use a caulk labelled paintable. Acrylic latex caulk, often sold with added silicone, takes paint and cleans up with water. Pure silicone does not take paint well, so it is the wrong choice for anything you plan to paint.
Nail holes are a different job. Caulk shrinks as it dries and can leave a small dimple, so a spackle or wood filler sanded flush usually gives a cleaner result on the face of the trim.
The one joint caulk must never fill
Do not caulk the bottom of the baseboard or the shoe moulding to a wood floor. This is the rule that protects the floor, and it is broken often.
A wood floor moves. Boards take up moisture and give it back as the seasons change, and the whole floor expands and contracts a little. That is why the installer leaves an expansion gap at the walls, and why the trim covers that gap rather than closing it.
If caulk bonds the trim to the floor, one of two things happens. Either the caulk tears and leaves a ragged line that has to be cut out, or it holds and pins the edge of the floor so it cannot move. Neither is a good outcome, and the second can lead to boards lifting or gapping elsewhere.
The trim should be fastened to the wall, not to the floor. Shoe moulding is nailed into the baseboard behind it, so the floor can slide underneath. Follow the manufacturer's installation instructions for the perimeter gap your floor needs.
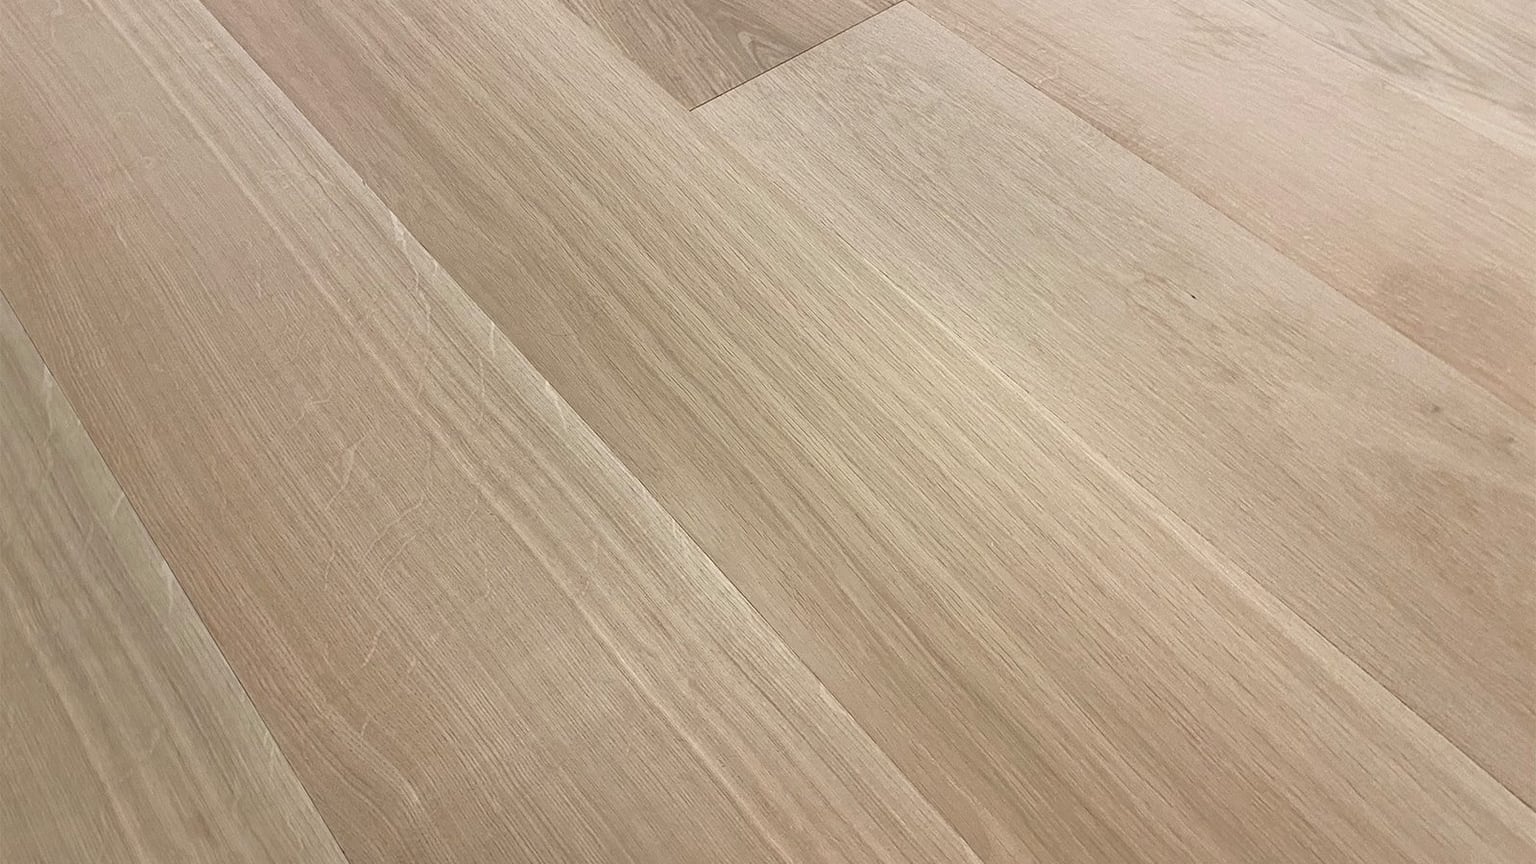
This applies to engineered floors as well as solid ones. The Garrison Contractor's Choice White Oak is an engineered board listed for nail, staple, glue or float installation, and its edge still needs room to move however it goes down.
Getting the order right with an unfinished floor
An unfinished floor changes the order of work. It is installed raw, then sanded and finished in the room, so the trim, the caulk and the paint have to fit around that.
Sanding throws fine dust, and the finish coats need a clean room. If the baseboard is already caulked and painted, the sander and the finish brush come right up to it, and touch-ups are almost certain. Many installers fit the shoe moulding only after the floor finish is complete for exactly that reason.
A practical order looks like this:
- Install the floor and leave the expansion gap at every wall.
- Sand and finish the floor, with the baseboard either removed or protected.
- Fit the shoe moulding, fastened to the baseboard and not to the floor.
- Caulk the joints between trim and wall, and fill the nail holes.
- Paint the trim once the caulk maker's label says it is ready, using tape to keep paint off the new finish.
The Garrison Contractor's Choice Premium American White Oak - 5" - Unfinished and the unfinished Garrison Contractor's Choice White Oak both follow this order, because they arrive without a factory finish.
With a prefinished floor, the finish is already on the boards. The trim can go on as soon as the floor is down, but the same rule about the bottom joint still applies, and painter's tape protects the factory finish while you work.
Paint-ready trim, stain-grade trim and when caulk is wrong
Paint-ready trim comes primed and is meant to be painted after it is fitted. Caulk suits it because the paint hides the caulk line and makes the joint disappear.
Stain-grade trim is real wood meant to show its grain under a clear finish. Caulk is the wrong material here. It will not take stain, and a white or clear bead stands out against the wood. Use a colour-matched wood filler or a wax filler stick instead, and cut the joints tightly so there is little to fill.
Many primed trims are made from engineered fibreboard rather than solid wood. Fibreboard swells if water reaches a cut end, so prime any end you cut before it goes up. Wipe away wet caulk with a damp cloth, not a soaking sponge.
Caulk also has a limit on gap size. It works on a narrow joint. A wide gap above a baseboard usually means the wall is badly out of flat, and a thick bead of caulk will crack or sag. Scribing the trim to the wall, or adding a backer rod before caulking a deep gap, gives a better result.
Wet rooms are a different case
In a kitchen, laundry or bathroom, water changes the job. A painted baseboard in a wet room needs a well-sealed top joint and a sound paint film, because water that reaches the trim can swell a fibreboard core.
The floor joint is still not a place for ordinary caulk on a wood floor. Some resilient floors, such as certain vinyl products, call for a flexible sealant at the perimeter in wet areas. That is a product-specific instruction, so follow the manufacturer's installation instructions rather than a general rule.
If water is the main question for your room, our guide to which floors handle water in each room explains what each type of floor can and cannot take.
Questions about caulk, trim and new floors
Can I caulk the shoe moulding to the floor to stop dust getting under it?
No. The gap under the shoe moulding is there so the floor can move. Caulking it pins the floor's edge, and the bead will usually tear as the floor expands and contracts.
What caulk should I use on paint-ready baseboard?
Use a caulk labelled paintable, usually an acrylic latex or acrylic with silicone. Pure silicone is hard to paint over, so keep it for places that will not be painted.
Should the baseboard be caulked before or after the floor goes in?
For an unfinished floor that is sanded on site, caulk and paint the trim after the floor finish is done, or protect the trim well. For a prefinished floor, the trim can go on once the floor is down.
Why is my caulk line cracking above the baseboard?
Usually the gap was too wide for caulk, the caulk was painted before it had dried, or the wall and trim are moving against each other. Cut out the failed bead, check the gap, and recaulk with a backer rod if it is deep.
Do I need caulk on stain-grade trim?
No. Caulk will not take stain and shows as a line. Fit the joints tightly and use a colour-matched wood filler on nail holes instead.
Getting the trim right around your new floor
Caulk belongs between trim and wall, in corners and at casings. It never belongs between trim and a wood floor, because the floor has to move. With an unfinished floor, plan the trim, caulk and paint after the sanding and finishing are done.
When you are choosing the floor itself, order samples to see the boards in your own light, or browse the flooring range. Then request a quote and we will arrange a free in-home laser measurement, so the perimeter, the transitions and the trim plan are settled for your own room.